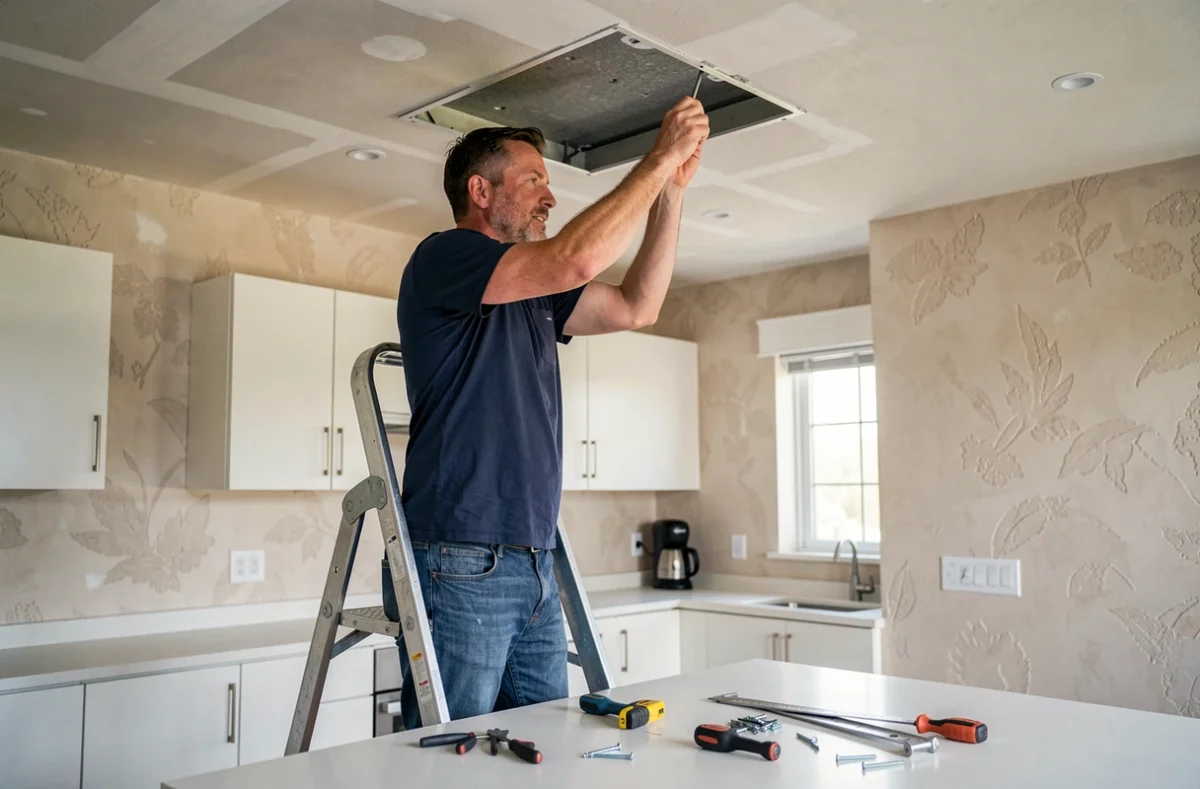
Preparing the installation of your wall-mounted hood requires a range of tools: drill, specific plugs for drywall, level, and pencil. For a successful installation, first mark the location of the hood on the drywall. Then drill the holes according to the indicated distances, and insert the plugs. Secure the hood using the screws provided in the kit. Ensure its stability before letting go. To guarantee durability, be careful not to overload the hood and regularly check the strength of the installation. A careful installation will ensure a smooth use of your wall-mounted hood.
Preparation and tools needed for fixing a wall-mounted hood on drywall
For the installation of a wall-mounted hood on drywall, a precise series of equipment is crucial to ensure a job well done. The efficiency and durability of the device depend mainly on the proper professional installation. To begin, you need to carefully choose the necessary tools for this task. A complete set of screwdrivers, a robust electric drill equipped with a varied assortment of bits are among the essentials.
It is also crucial to have a level to ensure that the hood is perfectly aligned during installation. This simple yet valuable tool will not only allow your hood to operate efficiently, but will also give your kitchen a neat and tidy appearance. Additionally, specific brackets will be necessary to securely fix the equipment against the drywall without damaging or weakening it.
Next comes the wiring stage where you will need the right equipment: appropriate electrical wires, heat-shrink tubing to protect the connections, and insulating tape to further enhance safety around the electrical components should be prepared in advance.
Always remember that handling these elements can be dangerous if you do not have the right personal protective equipment (PPE) such as insulating gloves and a pair of safe protective goggles that can help prevent any possible injury during the operation.
The correct use of appropriate ladders may seem obvious, but it deserves to be mentioned.
Detailed procedure for a successful installation of your wall-mounted hood
An essential task in the kitchen is the installation of the hood, an operation that may seem complex but which, with the right instructions and a bit of patience, can be accomplished by almost anyone. The choice of hood type is the first crucial step: you will need to consider not only its aesthetic appearance but also its technical specifications. Then comes the time for marking the anchoring points.
This is a phase whose importance should not be underestimated as it will determine the entire stability of your installation. Therefore, equip yourself with a level and a tape measure so that you can accurately locate where to drill the necessary holes for mounting.
The next step is to install the brackets, these small elements on which our wall-mounted hood will firmly rest. Be sure to check their strength first; they must be able to support the total weight of the device without issues for a long time.
After securely fixing these brackets to the wall or ceiling (depending on your type of hood), it is time to move on to the electrical connection step. If this part seems intimidating for some, do not hesitate to call a professional to avoid any unnecessary risk.
Finally, proceed to the final assembly: gently place the hood on its brackets and then carefully screw each point as indicated in the manual provided by the manufacturer.
Tips and precautions to ensure the durability of your installation
To ensure the durability of your equipment and installations, it is crucial to adopt certain precautions. Regular maintenance is among the primary actions to implement. This involves periodically checking the condition of the devices to avoid premature degradation or unexpected breakdowns that could incur immense costs.
When discussing material maintenance, one instinctively thinks of cleaning. This step is indeed an essential aspect of the process but also includes replacing worn or defective parts, as well as lubrication and other necessary adjustments to ensure the proper functioning of your installation.
Proper use is also a significant factor in preserving the longevity of your installations. This means that you should use each device according to its original purpose without overloading or abusing it, which could lead to rapid or even irreversible wear.
It is also important to note the significance of a good electrical installation. This must be carried out in accordance with current standards to avoid any risks related to surges or short circuits that could severely damage your equipment.
Of course, it would be wise to consider insurance covering your equipment against any undesirable eventualities such as fire, flooding, or other unforeseen natural disasters.